
Propeller | Shaft | Strut & Bearing | Stern Tube & Stuffing Box | Coupler & Drive Savers | Alignment
Engine Alignment - Science not Art
or "I Wish I Had Gotten the Coupler Faced... "
How to mess up an alignment:
- Bad feeler guages or spacers
- Being in a hurry because of poor access or discomfort
- Frozen engine mounts
Alignment –
Why Align the Engine?
A proper alignment will give you years of good life out of your drive, not to mention better engine efficiency, less vibration, and less chance of a major leak. A bad alignment will rapidly wear away your cutlass bearing, shaft, strut, and stuffing box, leading to very costly haulouts and repairs.
How to align your engine in or out of the water:
With the shaft in place, disconnect the coupler from the engine, and loosely bolt it with 2 bolts (placed opposite each other) only. Take 2 pieces of either .012 shim stock, or break off a .012 blade from a feeler gauge (not the one you’re using for the alignment) and cut into 2 pieces. Place the 2 pieces as close to the 2 bolts as possible without interfering with the threads. Tighten the 2 bolts snug but not enough to crush your shim pieces. Now, in a perfect world, you have a coupler that is precisely .012 away from the engine, right? This means no matter what direction you rotate the coupler, a .012 feeler gauge will fit in the spaces halfway between the bolts, but a .013 is too big. If this is so, you have the only perfectly aligned engine on the planet. In reality, up to a .004 error is acceptable. This means a .016 or a .008 is OK. Just to make sure you’re using the gauge correctly, note that if a .009 fits, but a .010 will not, your gap is .009. Likewise, if you have to pound on or bend the gauge, it’s not right. If you have a gap big enough to fit a .017 or larger, you need to work on your alignment. Rotate the coupler and try from different directions. If the gap is always too big on one side no matter how you rotate the coupler, you have a damaged coupler that needs to be re-faced. Buy a drive saver or pull the shaft and coupler and send it out. If the gap’s always on the top, raise your front mounts. If the gap’s on one side, move your engine port or starboard towards the gap. Only change one dimension at a time, get it correct side to side first, then worry about top and bottom. When you’re finished, try to have some thread left on all 4 mounts. If one mount is bottomed out, and 3 are near the bottom, you can often move all 4 up a little. Always use half or quarter turns at a time, be precise, and keep track of how many turns you make on each mount in case you get in trouble and have to start over. When everything’s within .004 you are finished, and you should have years of good life out of your drive, not to mention better engine efficiency, less vibration, and less chance of a major leak. Resist the temptation to say it’s good enough. It isn’t until you get .004.
What we do at the yard: with the shaft removed, we put a laser in the coupler, and fire it aft through clear tape over the stern tube and clear tape over the cutlass bearing. After rotating the laser in the coupler to make sure the dot is centered (it should make a small circle, which is to be considered the center of the laser, I’ll be referring to it as the dot for simplicity’s sake) we check if the dot is centered in both holes. If it’s off in the strut but correct in the stern tube, we move the front mounts. If it’s off in the stern tube, we move the aft mounts or both. Think of the engine as a gun, you can move the barrel (aft mounts) or the stock (forward mounts). Do this lots and it’ll make sense. Shoot a perfect bulls-eye in both before you walk away.
What the yard has that you don’t have –
Laser alignment to get everything perfectly aligned quickly –
- you can use a set of feeler gauges and infinite patience.
- You shouldn’t because it will take you a long time and it takes a lot of finesse, a well faced coupler, and a clean surface to get this just right.
 |
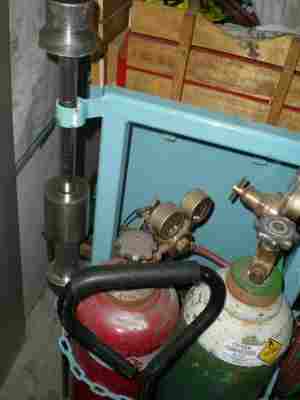 |
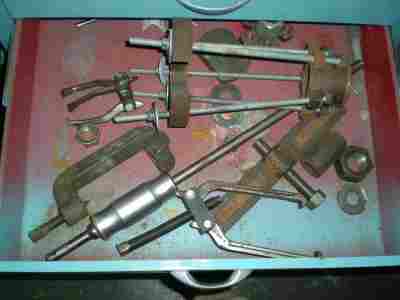
| Prop pullers for every occasion | A slide hammer on the left, and torches on the bottom |
This concludes the drive train inspection.
If you haven't checked your coupler and drive saver , check it out now
If you would like to use the content of these articles, please contact us.